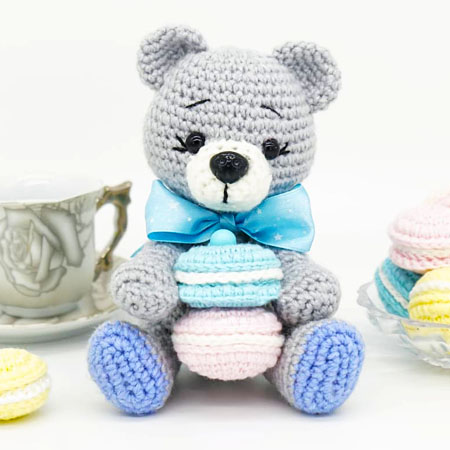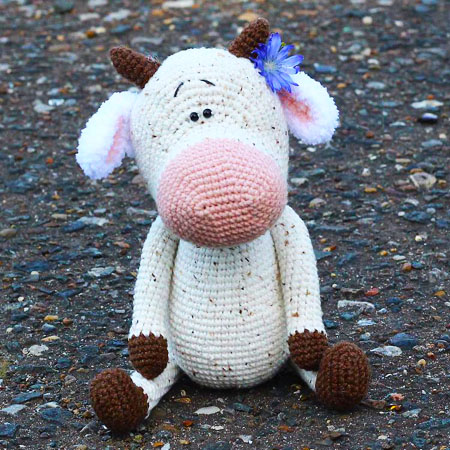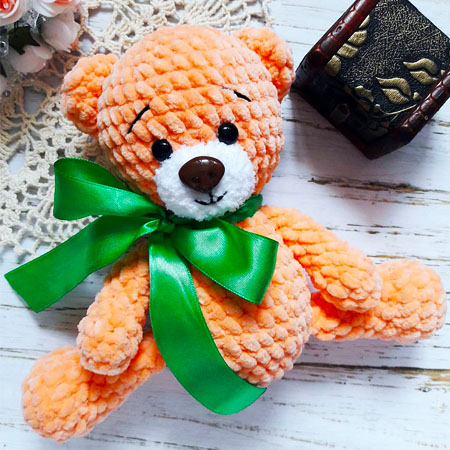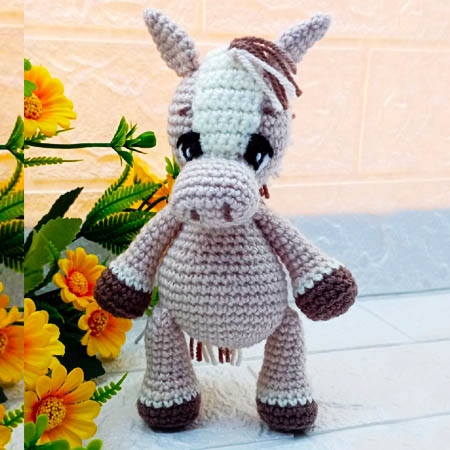

Hello, friends! I’ve got a fantastic amigurumi pattern to share with you today, just in time for the weekend! If you’ve been waiting for a donkey amigurumi pattern, you’re in for a treat. It’s been a while since I’ve shared a donkey design, and I know how hard it is to find free patterns for animals like donkeys and horses. I apologize for the wait, but I’m back with something special! This crochet donkey pattern is completely free, and I hope you love it. Don’t forget to follow me for more free amigurumi patterns in the future. Now, let’s get started!
Crochet Donkey Eeyore Toy Pattern Details
Donkey amigurumi toys are rare, especially free designs, so I believe this pattern is a great find. With limited options out there, I’m excited to bring you this adorable and unique donkey design. The fact that this pattern is free makes it an even better opportunity to try your hand at creating something new!
Designer: Natalya Larina
Download the free PDF pattern and start crocheting your own Cute Donkey Eeyore today – it’s the perfect project for all skill levels!
Abbreviations
MR – Amigurumi Magic ring
sc : Single Crochet
inc : Increase
dec : Decrease
st: Stitch
sl-st or Slst: Slip Stitch
ch : Chain
BLO : Crochet into back loops only
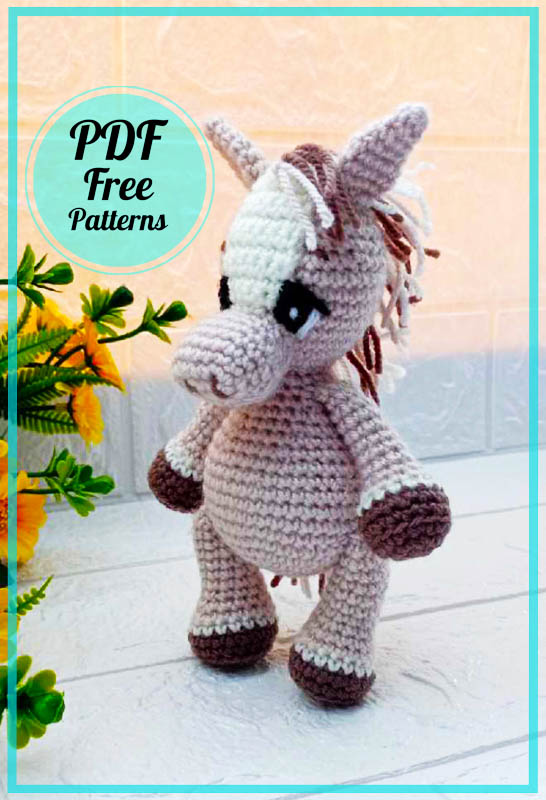
LEGS
We start crocheting with brown yarn
1 Rnd: 6 sc in MR (6)
2 Rnd: 6 inc. (12)
3 Rnd: (1 sc., inc.)*6 (18)
We form a hoof
4 Rnd: BLO 18 sc . (18)
5 Rnd: 18 sc. (18)
Change the yarn to milk yarn
6 Rnd: 18 sc. (18)
Change the yarn to St. brown yarn (body color)
7 Rnd: 18 sc. (18)
8 Rnd: (4 sc., dec.)*3 (15)
9 Rnd: (3 sc., dec.)*3 (12)
10-16 Rnd: without change
12 sc. 7 rnds (12)
Cut the yarn and hide. Fill the part with filler.
ARMS
We start crocheting with brown yarn
1 Rnd: 6 sc in MR (6)
2 Rnd: 6 inc. (12)
3 Rnd: (3 sc., inc.)*3 (15)
4 Rnd: we form a hoof, BLO 15 sc. (15)
5Rnd: 15 sc. (15)
Change the yarn to milk yarn
6 Rnd: 15 sc. (15)
Change the yarn to St. brown yarn (body color)
7 Rnd: BLO (3 sc., dec.)*3 (12)
8 Rnd: (2 sc., dec.)*3 (9)
9-13 Rnd: without change 9 sc. 5 rnds (9)
14 Rnd: dec. 7 sc (8)
15-16 Rnd: without change 8 sc. 2 rnds (8)
Cut the yarn and hide. Stuff detail.
MUZZLE
We crochet with st. brown yarn (body color)
1 Rnd: Ch 5, in the 2nd loop from the hook inc., 2 sc., 4 sc. in 1st loop, 2 sc., inc. (12)
2 Rnd: 2 inc., 2 sc., 4 inc., 2 sc., inc.(20)
3-6 Rnd: without change 20 sc. 4 rnds (20)
7 Rnd: 1 sc., dec., 8 sc., dec., 7 sc. (18)
8 Rnd: 18 sc.(18)
Next, we move on to crocheting the bridge of the nose, change the color of the yarn to milky and crochet in turning rows
9 Rnd: 5 sc.,slst, expand
10-20 Rnd: without changes: turning chain, 6 sc. (6)
21 Rnd: dec., 2 sc., dec. (4)
22 Rnd: 2 dec. (2)
Cut the yarn, leaving the end for sewing. Fill the muzzle with filler.
We sew it between 23 and 25 (26) rows
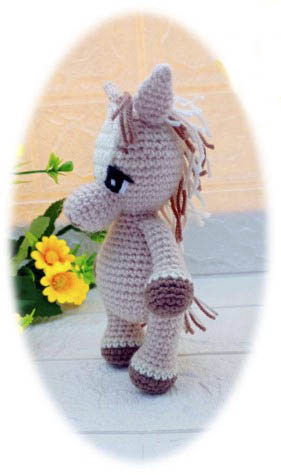
EARS
1 Rnd: 6 sc in MR (6)
2 Rnd: 6 sc. (6)
3 Rnd: (1 sc., inc.)*3 (9)
4 Rnd: (2 sc., inc.)*3 (12)
5-7 Rnd: without change 12 sc. 3 rnds. (12)
8 Rnd: 6 dec. (6)
Cut the yarn, leaving the end for sewing.
Fold in half and sew to the head in this position.
BODY
1 Rnd: 6 sc in MR (6)
2 Rnd: 6 inc. (12)
3 Rnd: (1 sc., inc.)*6 (18)
4 Rnd: (2 sc., inc.)*6 (24)
5 Rnd: (3 sc., inc.)*6 (30)
6 Rnd: (4 sc., inc.)*6 (36)
7 Rnd: (5 sc., inc.)*6 (42)
8 Rnd: we crochet legs 7 sc., 6 sc. (with leg), 15 sc., 6 sc. (with leg), 8 sc. (42)
9-11 Rnd: without change 42 sc. 3 rnds (42)
12 Rnd: (5 sc., dec.)*6 (36)
13 Rnd: 36 sc. (36)
14 Rnd: (4 sc., dec.)*6 (30)
15 Rnd: 30 sc. (30)
16 Rnd: (3 sc., dec.)*6 (24)
17 Rnd: 24 sc. (24)
18 Rnd: (2 sc., dec.)*6 (18)
19 Rnd: we crochet hands 5 sc., 4 sc. (with a hand), 4 sc., 4 sc. (with hand) (18)
20 Rnd: (4 sc., dec.)*3 (15)
21 Rnd: (3 sc.,dec.)*3 (12)
We immediately proceed to crocheting the head
22 Rnd: 12 inc. (24)
23 Rnd: (3 sc., inc)*6 (30)
24 Rnd: (4 sc., inc.)*6 (36)
25-29 Rnd: without change 36 sc.5 rnds (36)
30 Rnd: (4 sc., dec.)*6 (30)
31 Rnd: 30 sc. (30)
32 Rnd: (3 sc., dec.)*6 (24)
33 Rnd: 24 sc. (24)
34 Rnd: (2 sc.,dec.)*6 (18)
35 Rnd: 18 sc. (18)
36 Rnd: 9 dec. (9)
Cut the yarn, pull the hole.
Hide the end inside the part.
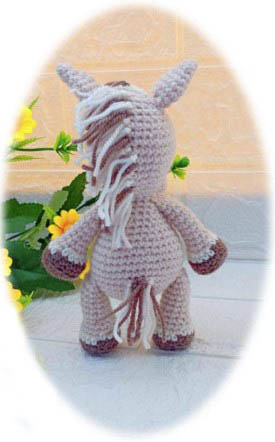
TAIL
Cut yarns of 6 cm. Attach the mane with knots: from the forehead to the necks.
We attach the tail in 7 and 8 rows.
