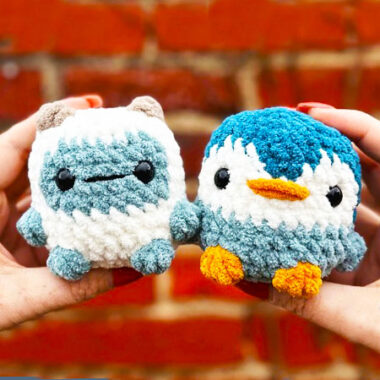
Today, I’m excited to share a fun and easy-to-follow crochet pattern for creating both a Chunky Yeti and a Penguin amigurumi toy with a single pattern! These adorable toys are made with soft, plush yarn, giving them a delightful, almost “potato-like” texture. Perfect for beginners, this pattern allows you to craft two charming creatures in one go.
Chunky Yeti and Penguin Amigurumi Toy Pattern
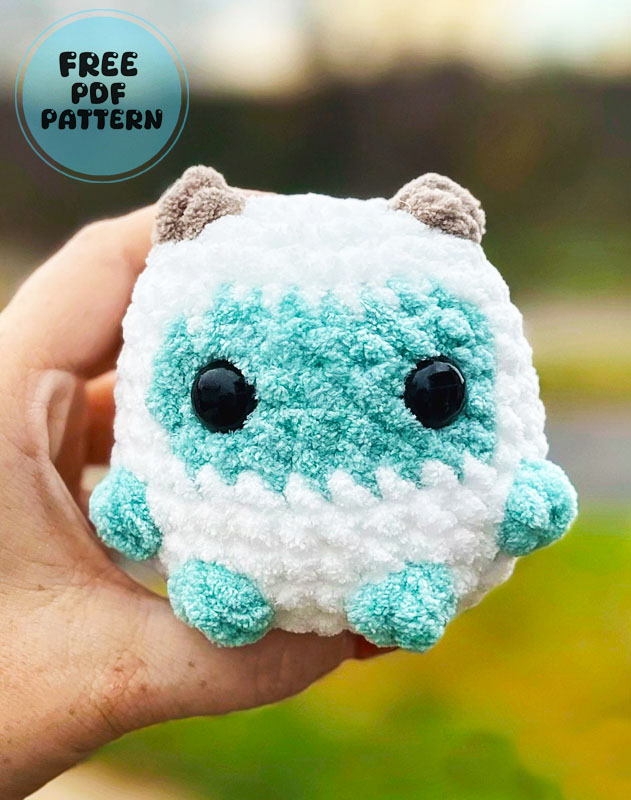
To achieve the best results, the designer recommends using Bernat Blanket Yarn for its plush feel. The toys require 12mm safety eyes to complete their cute faces. Since the yeti and penguin feature different colors, you’ll be making a few color transitions as you crochet their bodies. A 6mm crochet hook is required for these cuddly creations.
Designer: johannamigurumi
Free PDF Pattern available for download!
ABBREVIATIONS:
MR = magic ring
SC = single crochet
BOB = bobble stitch
FLO = front loop only
BLO = back loop only
INC = increase
DEC = decrease
FO = fasten off
CH = chain
ST = stitch
RND = round
(…) x = Repeat stitches within parentheses x times
[…] = Number of stitches at the end of round
MATERIALS:
PENGUIN
+ Bernat Blanket yarn Main Color: 12.5 yards Secondary Color: 12.5 yards White: 4 yards Beak/Feet Color: < 1 yard
+ 12mm Safety Eyes
+ 6mm Crochet Hook
+ Scissors
+ Bent-Tip Darning Needle
+ Stitch Markers
+ Stuffing
For YETI
+ Bernat Blanket yarn in White, Tan & Blue + 12mm or 14mm Safety Eyes
Notes
+ These patterns are written in US terminology.
+ This pattern was created using Bernat Blanket yarn; however, it is workable in other yarn types as well as long as the hook size and eye size are adjusted.
+ I recommend the yarn under/yarn over crochet method for tighter stitches.
+ You may need to adjust placement of the wings/bobble stitches.
HOW TO MAKE A BOBBLE STITCH
Yarn over, insert hook into stitch, yarn over, draw loop back through stitch, yarn over pull through 2 loops. Repeat 3 more times until you have 5 loops on your hook. Yarn over and draw through all 5 loops to complete the bobble.
Penguin
Start with Main Color.
RND 1: SC 8 in a MR [8]
RND 2: INC in each ST around [16]
RND 3: (SC, INC) x 8 [24]
RND 4: (3 SC, INC) x 6 [30]
For the next five rounds, switch to White as indicated in BOLD Underlined.
RND 5: 10 SC, 3 SC, 4 SC, 3 SC, 10 SC [30]
RND 6:9 SC, 5 SC, 2 SC, 5 SC, 9 SC [30]
RND 7-8: 8 SC, 14 SC, 8 SC [30]
RND 9:9 SC, 13 SC, 8 SC [30]
Use the Beak/Feet Color.
Embroider a nose between rounds 7-8. Make two passes – do not overlap them. Add the eyes between rounds 7-8 with one hole showing between the eye and the beak.
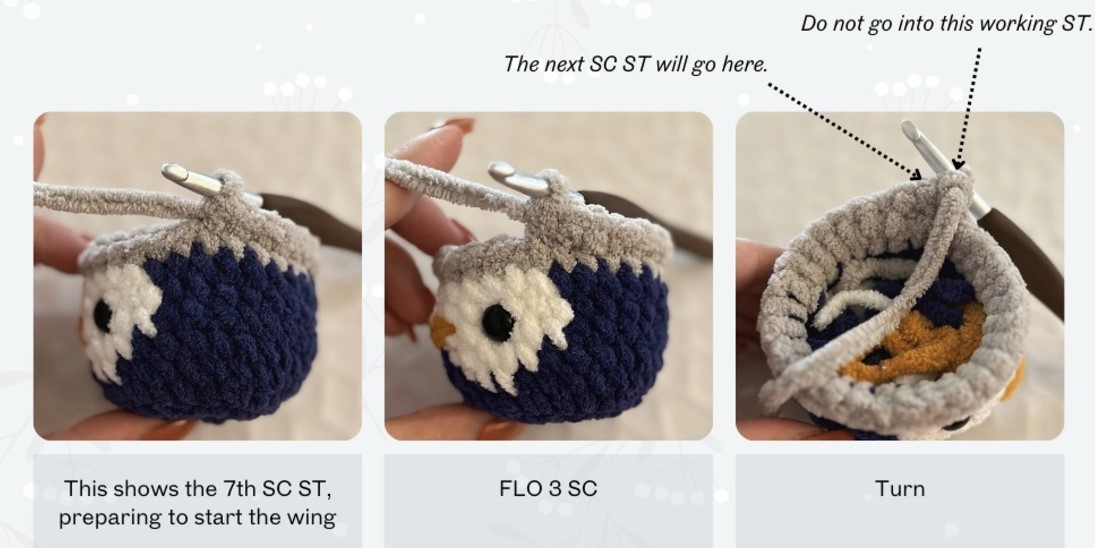
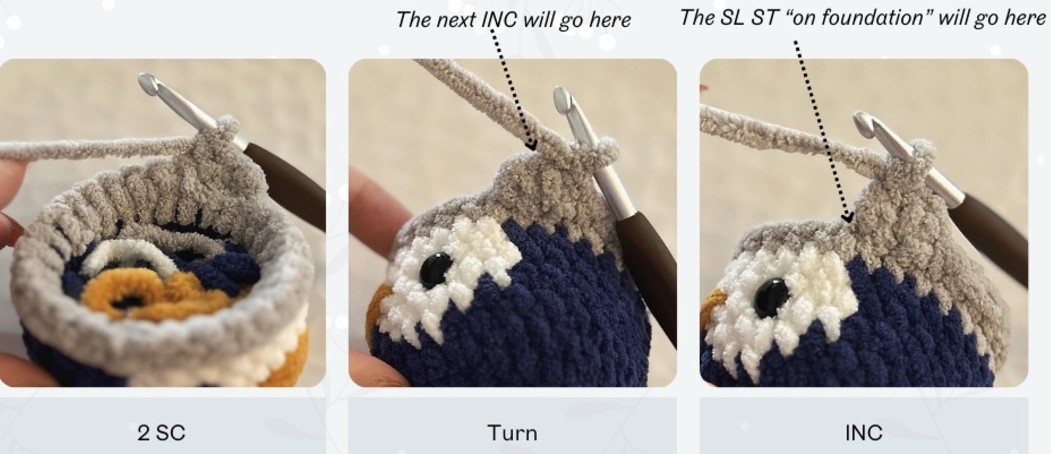
*WING*
FLO 3 SC, turn, 2 SC, turn, INC, 1 SL ST into the FLO on foundation. Do not CH after turning. Skip the working ST and continue in the next ST. Mark the BLO with stitch markers to help find them in the next round.
Change to Secondary Color.
RND 10: SC in each ST around [30]
RND 11: 7 SC, *wing*, 12 SC, *wing*, 5 SC [30]
RND 12: 7 SC, 3 SC under the wing in the BLO of RND 10, 12 SC, 3 SC under the wing in the BLO of RND 10, 5 SC [30]
RND 13: SC in each ST around [30]
SEE NEXT SLIDE FOR DETAILS ON THE WING
In the next round, switch to Beak/Feet Color as indicated in BOLD Underlined.
RND 14: 12 SC, BOB, 6 SC, BOB, 10 SC [30]
RND 15: (3 SC, DEC) x 6 [24]
Stuff the head and the body firmly. Continue stuffing until closed.
RND 16: (SC, DEC) x 8 [16]
RND 17: DEC x 8 [8]
FO. Close the round. Use a darning needle, go through the front loop of each ST in the last RND and pull yarn to close the opening. Secure and hide the tail inside your work.
Yeti
Start with White.
RND 1: SC 8 in a MR [8]
RND 2: INC in each ST around [16]
In the next round, switch to HORN COLOR as indicated in BOLD Underlined.
RND 3: (SC, INC) x 2, BOB, INC, SC, INC x 2, SC, INC, BOB, (INC, SC) x 2 [24]
RND 4: (3 SC, INC) x 6 [30]
For the next five rounds, switch to FACE COLOR as indicated in BOLD Underlined.
RND 5: 11 SC, 7 SC, 12 SC [30]
RND 5 NOTE: The face should be centered between the horns. If it is not, add or remove SC in White to adjust as needed.
RND 6-8: 10 SC, 9 SC, 11 SC [30] – 3 rounds
RND 9: 11 SC, 8 SC, 11 SC [30]
RND 10: SC in each ST around [30]
In the next round, switch to HAND/FEET COLOR as indicated in BOLD Underlined.
RND 11: 8 SC, BOB, 10 SC, BOB, 10 SC [30]
RND 12: INC in each ST around [30]
RND 13: 11 SC, BOB, 5 SC, BOB, 12 SC [30]
RND 14: (3 SC, DEC) x 6 [24]
Add the eyes between rounds 7-8 with 4-5 stitches between them. Embroider face details as desired. Stuff the head firmly. Do not over stuff the bottom or it will not sit flat. Continue stuffing until closed.
RND 15: (SC, DEC) x 8 [16]
RND 16: DEC x 8 [8]
FO. Close the round. Use a darning needle, go through the front loop of each ST in the last RND and pull yarn to close the opening. Secure and hide the tail inside your work.
Congrats Your Pegunin and Yeti Toys ready!


